ADDING AUDIO (the iMovie tutorial is listed first; for the Premiere tutorial, scroll down):
ADDING AUDIO USING iMOVIE:
In iMovie for Mac, you can drag audio files right into your timeline from the Finder. You can also use songs or other audio files from your music library and other locations using the media browser within iMovie. And if you want to add voiceover narration, record it right into the timeline of your iMovie project.
Drag audio files into the iMovie project timeline on Mac
You can drag audio files like .mp4, .mp3, .wav, and .aif files from the Finder and the Desktop right into the timeline of your iMovie project. Audio files dragged into the timeline behave differently depending on where you drag them:
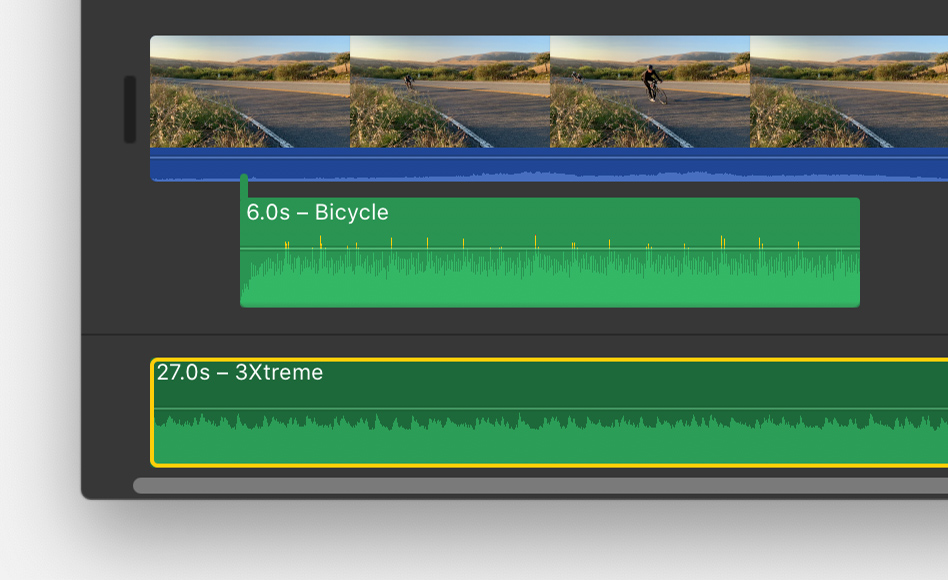
If you want an audio file to stay with a particular video clip even if you move the video clip, drag the audio file just below the video clip so a bar connecting the clips appears. Use this to add sound effects or voiceover audio that you want to connect to a specific video clip in your project, no matter where the clip is in the timeline.
Add music and sound effects using the iMovie browser on Mac
You can browse and add content from your music library and built-in sound effects from within iMovie.
- With your project open, click Audio at the top of the window, then choose an option:
- To access your music library, click Music (or iTunes if you’re using macOS Mojave or earlier) in the Libraries list, then browse selections.*
- To access built-in sound effects like footsteps or rain, click Sound Effects in the Libraries list.
- To preview a song or sound effect before you add it to the timeline, click the play button
 next
to each song or sound effect. You can also select a song or sound
effect, click in the waveform at the top of the media browser, then
press the Spacebar to preview.
next
to each song or sound effect. You can also select a song or sound
effect, click in the waveform at the top of the media browser, then
press the Spacebar to preview. - When you’ve found the song or sound effect you like, drag it from the media browser to the timeline:
- For background or theme music for your movie, drag songs to the music well.
- To attach music or sound effects to a specific video clip, drag it under the video clip so a bar connecting the clips appears.
ADDING AUDIO USING PREMIERE:
Find Your Audio:
Choose Window > Media Browser to reveal the Media Browser panel.
Within the Media Browser, navigate to your audio file, right-click (Windows) or Control-click (macOS) it, and select Import to add it to the Project panel.
Make sure the Ingest box is selected if you want to simultaneously copy the audio file to your project folder.

Double-click it to open it in the Source panel; notice the waveform. You can play the audio file here if you wish to listen to it.
Drag the audio clip to the sequence in the Timeline panel. You can drop it on any audio track below the video tracks.
Trim the audio clip as you would a video clip.

Drag the blue playhead to wherever you want playback to start.
If your audio clip is too loud or too soft compared to the rest of your sequence, you can change the volume of each audio track independently.
Choose Window > Audio Track Mixer > [sequence name] to reveal the track mixer for your sequence.
The playback controls at the bottom of the Audio Track Mixer panel allow you to play, stop, and even loop sequence playback.
As your sequence plays or loops, move the sliders up and down to increase or decrease the volume of each individual audio track in your sequence.
Slide the Master control to adjust the overall audio level.
NOTE: While sliding the controls, try to keep the audio levels in the –6 to –3 dB range to be level with most audio projects.

Comments
Post a Comment